Yes, provided they are clean, dry, flat and approved for use by the manufacturer of the product being applied over them.
Sweep regularly with soft-bristled broom or dust mop then damp mop occasionally using mild detergent solution mixed according to label directions for normal cleaning maintenance purposes only; avoid using abrasive cleaners or pads which could scratch surface finish.
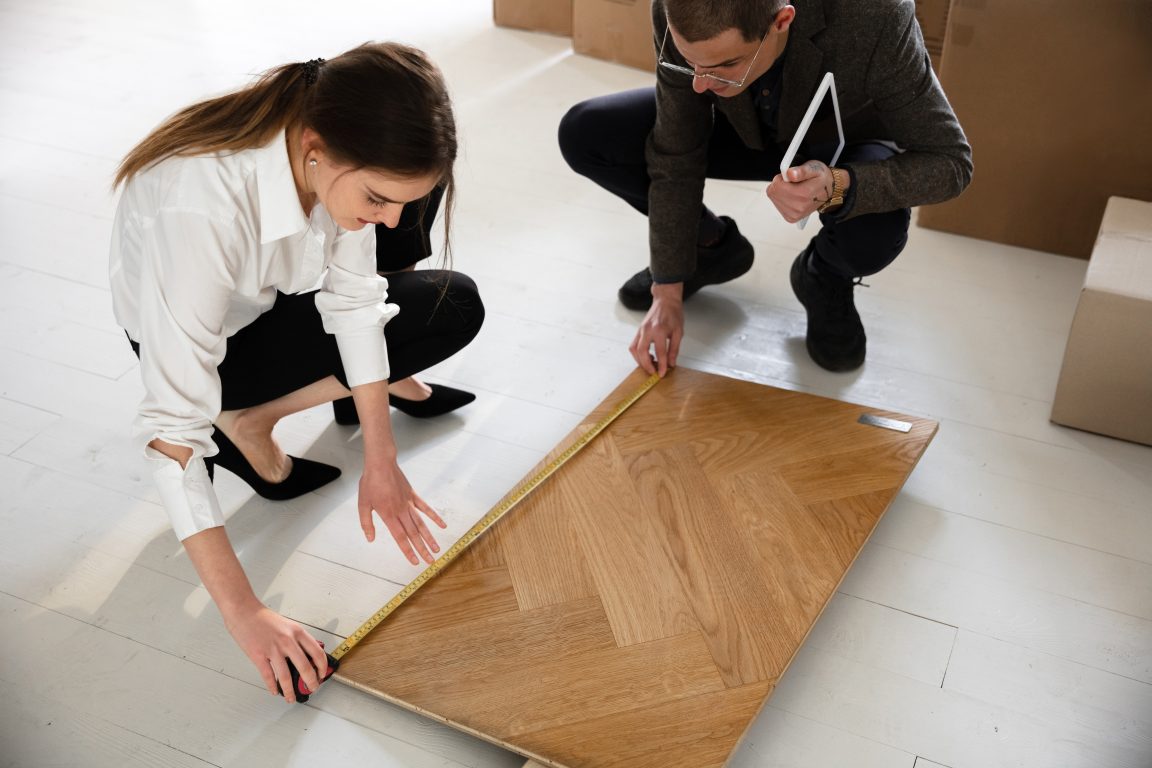
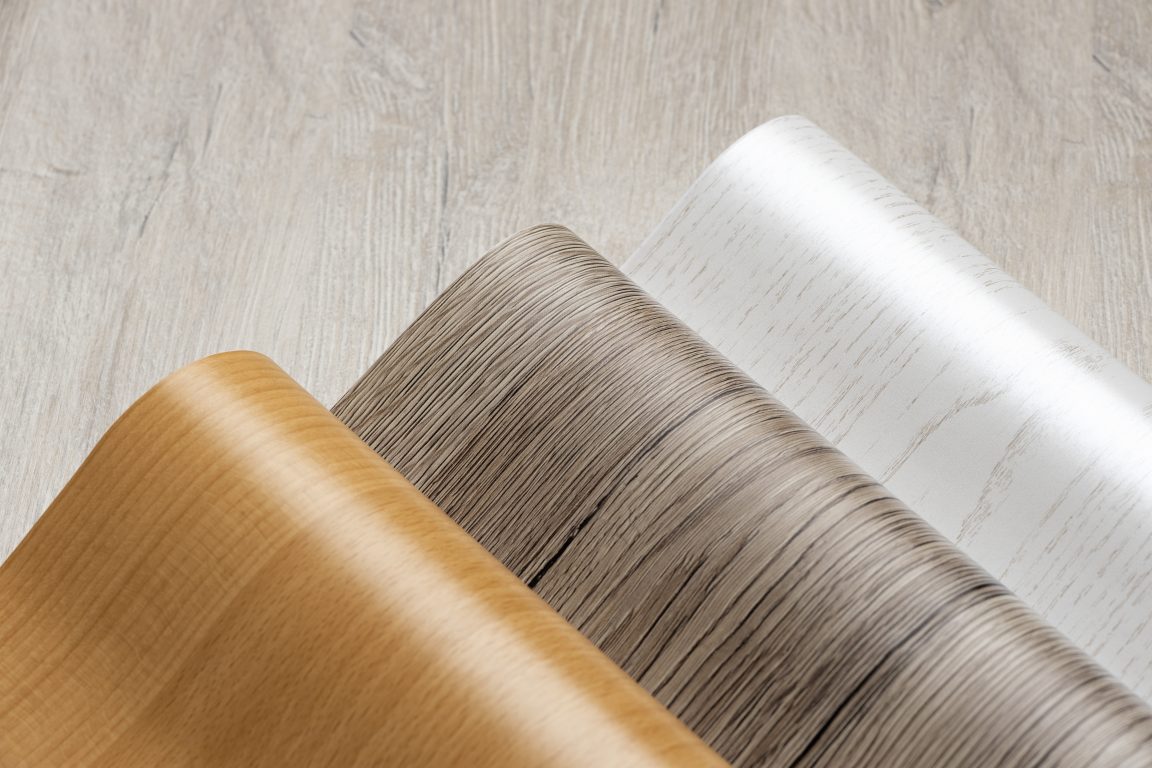
SPC (Stone Plastic Composite) flooring is a type of vinyl flooring that is more rigid and durable compared to standard PVC flooring. It is also more resistant to temperature changes and moisture.
Yes, but ensure you select waterproof products designed specifically for this type of application and follow all installation guidelines provided by the manufacturer carefully so as not to void any warranties associated with said materials used herein.
Properly installed and maintained, a quality PVC floor can offer many years of satisfactory service life under normal foot traffic conditions typically encountered within residential living spaces; commercial settings may exhibit different wear characteristics due to higher levels of use and abuse being experienced there